 Image 1 of 2
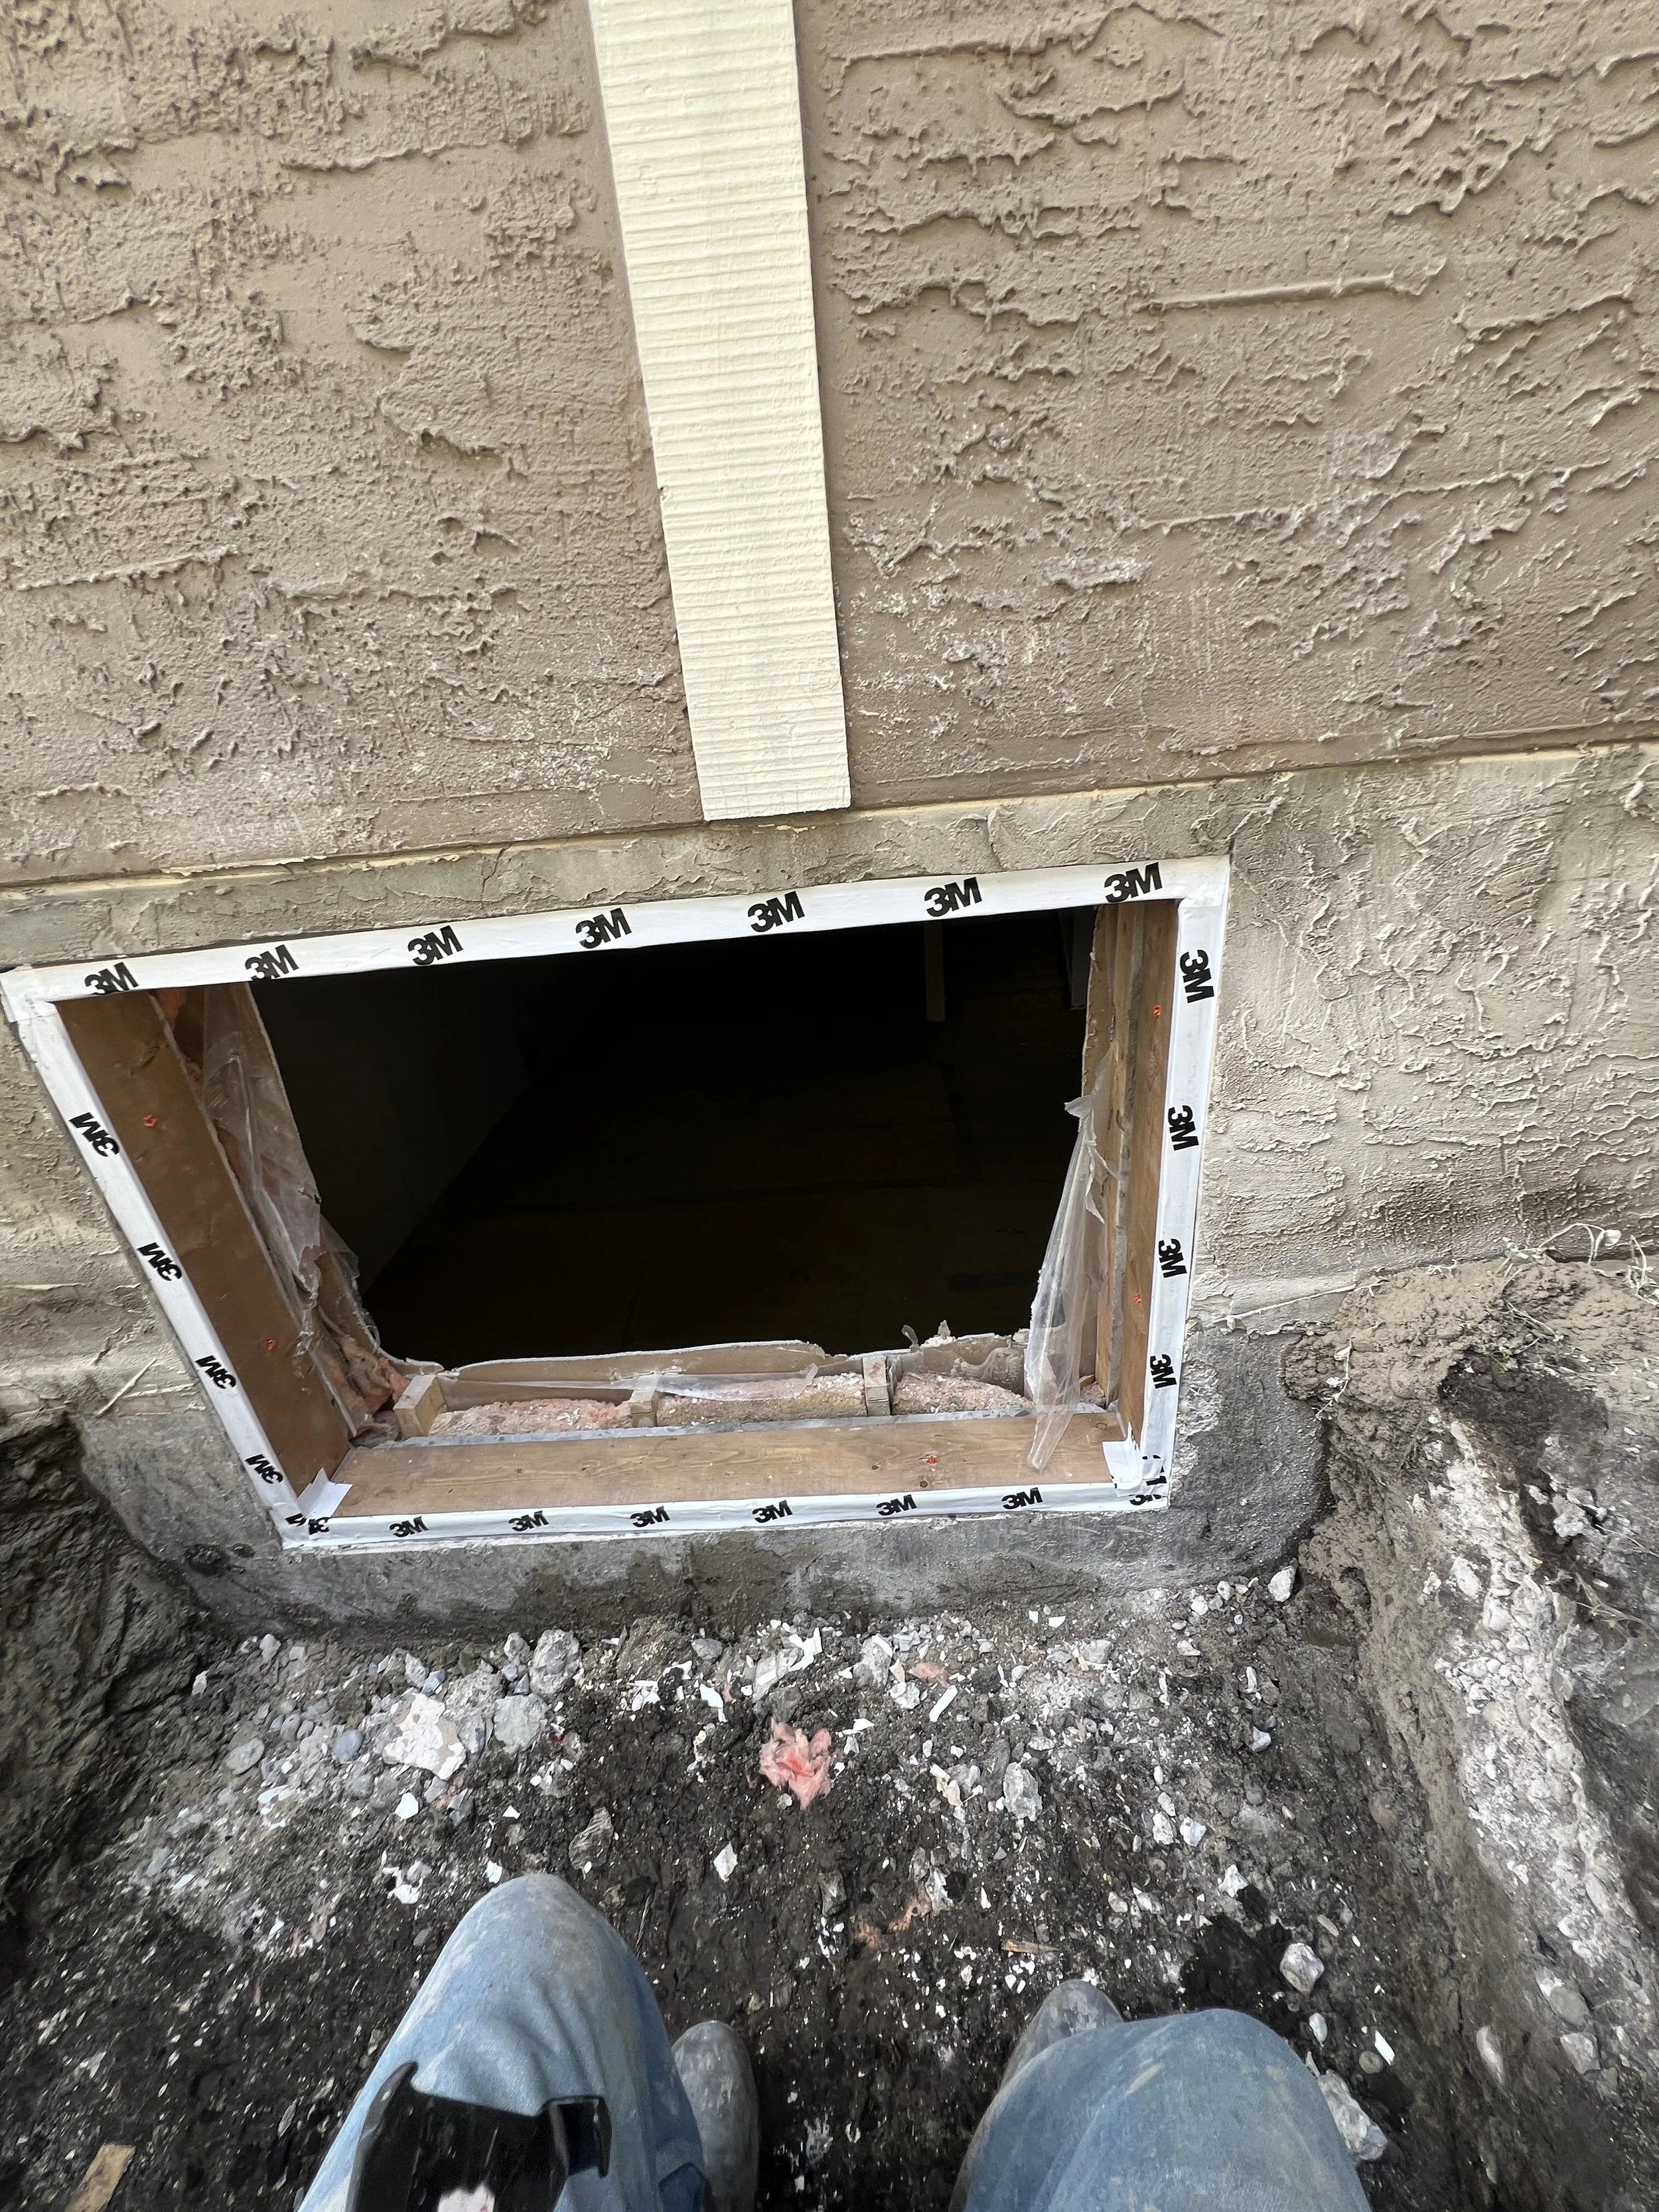 Image 2 of 2
Alright, let’s jazz up the window installation game with some Geek-tastic flair! When it comes to popping in those windows, everyone’s got their own funky style, but our Geeks? We’ve nailed it down to two slick methods that’ve been rocking our world for a decade (and counting)! Say hello to Option A (the renovation brick mould superstar) and Option B (the nailing flange ninja). Sure, we’ve dabbled in other tricks when projects get wild, but these two cover 95% of the action, so let’s keep it simple and sassy!
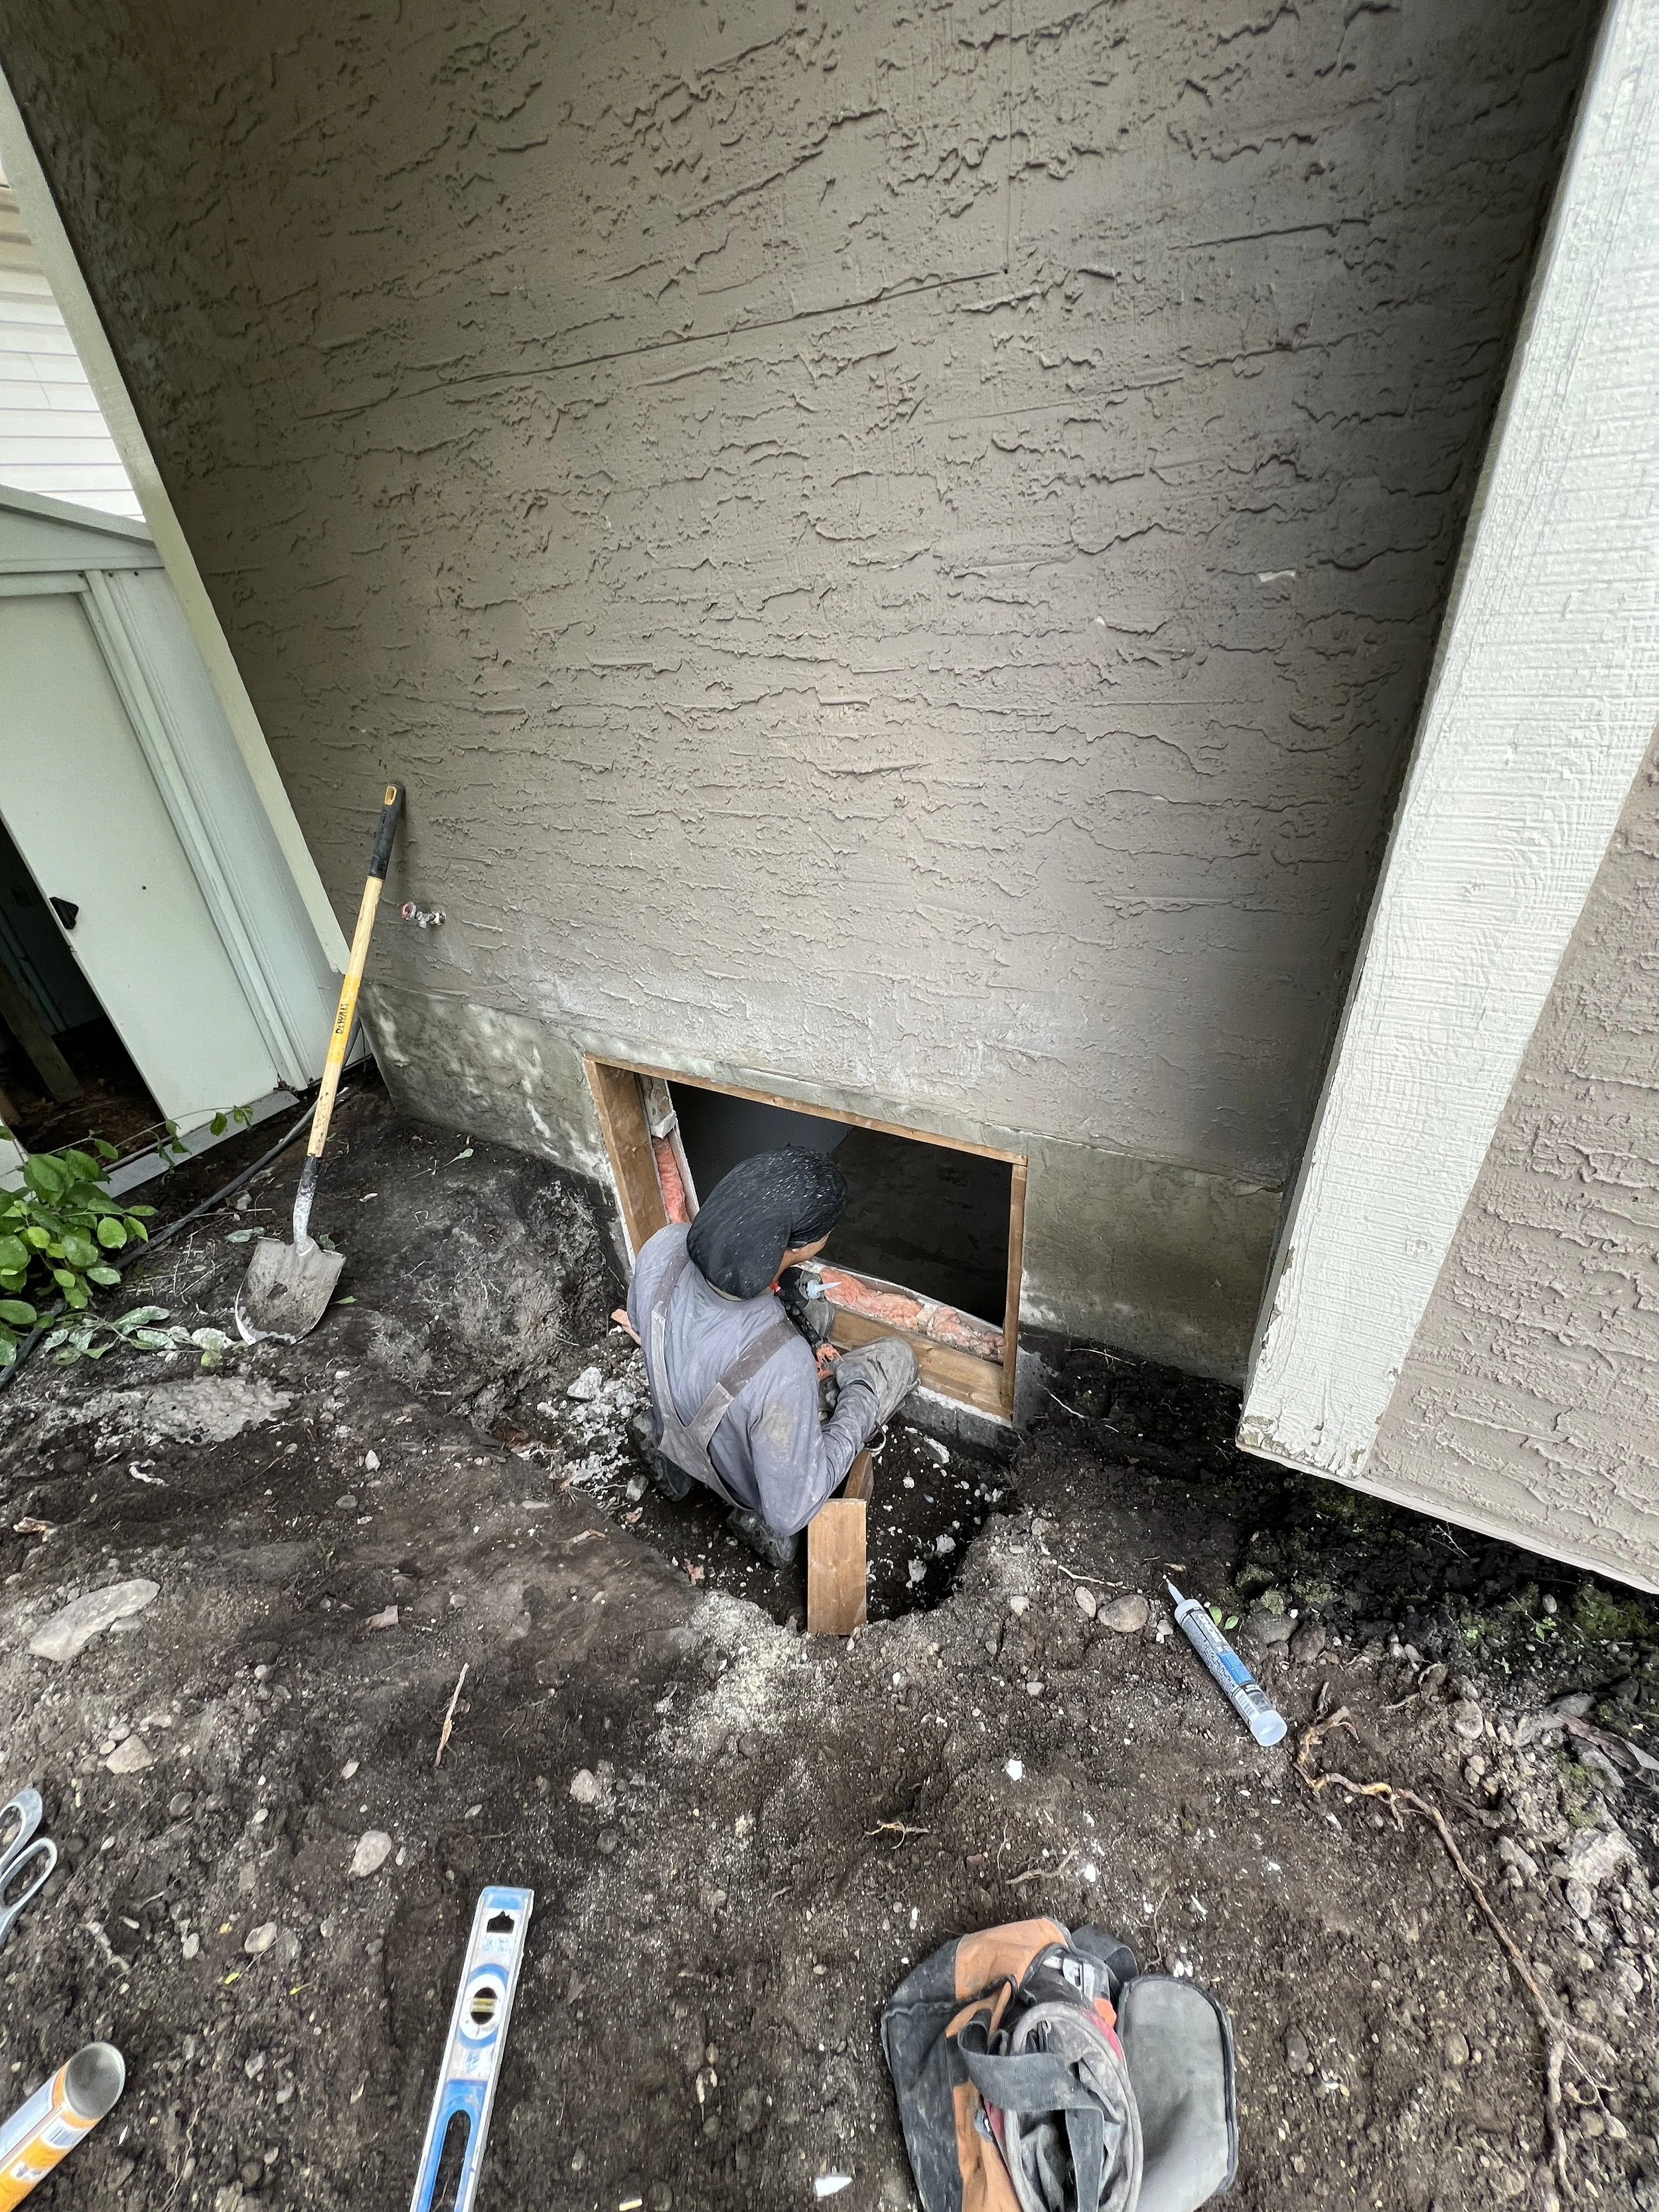
Both Option A and Option B kick things off with the same groove: we line that freshly cut opening with pressure-treated 2”x6” lumber (no cheap spruce nonsense here, only the good stuff! 😎). This “bucked frame” gets snugly tucked ½ to 1” back from the exterior concrete foundation’s face and ramset into place like it’s ready to star in an action movie. Now, here’s where the paths split:
Option A gets all dressed up with a water-resistant 3M membrane wrap slapped on the bucked frame to fend off sneaky H2O—yuck! Add a dollop of silicone sealant around the perimeter, and boom, you’ve got a fortress-like water barrier keeping the cozy indoors safe from the wild outdoors. Then, enter the superstar 2” reverse drip cap, strutting in to stop any drippy water from crashing the party between the window unit and our fancy barrier. Hold tight, Option B fans—your moment’s coming in step two!
Option A is now prepped and ready for the main event: window installation time! The window unit rolls in with a pre-made vinyl brick mould, looking all snazzy. We pop off the surface caps, drive in some 2.5” screws, and give it a “blind caulking” spa treatment. Then, it’s slid into the bucked frame under that dazzling drip cap, leveled to perfection vertically (no wonky slopes here!) and horizontally (no cruise ship vibes, please). Option B, you’re up! This bad boy uses a nailing flange window unit, slipped into a bare bucked frame. Same leveling magic happens—vertical, horizontal, all that jazz—then it’s caulk-and-membrane time! Silicone sealant and 3M wrap team up to create a water-tight seal that laughs in the face of harsh weather.
Now, the paths diverge like a choose-your-own-adventure book! Option A gets a final silicone sealant glow-up around the brick mould and often above the drip cap (though sometimes we skip that step, depending on the vibe). Then, it’s spray foam time on the interior, and voilà—Option A is done! (Just gotta snap those vinyl caps back on to hide the screws for that sleek exterior look.) Option B demands a bit more pizzazz. We toss in some spruce blocks around the exterior perimeter—why, you ask? Because we’re about to get fancy! A shiny new standard white drip cap (not reverse, we’re switching it up!) takes the stage, followed by custom-bent aluminum cladding—crafted on-site to hug your window unit like a tailored suit. From classic white to bold black and every shade in between, we’ve got you covered! Option B wraps up with a foam party on the interior, just like its cousin, and both methods are ready to shine! ✨
Alright, let’s jazz up the window installation game with some Geek-tastic flair! When it comes to popping in those windows, everyone’s got their own funky style, but our Geeks? We’ve nailed it down to two slick methods that’ve been rocking our world for a decade (and counting)! Say hello to Option A (the renovation brick mould superstar) and Option B (the nailing flange ninja). Sure, we’ve dabbled in other tricks when projects get wild, but these two cover 95% of the action, so let’s keep it simple and sassy!
Both Option A and Option B kick things off with the same groove: we line that freshly cut opening with pressure-treated 2”x6” lumber (no cheap spruce nonsense here, only the good stuff! 😎). This “bucked frame” gets snugly tucked ½ to 1” back from the exterior concrete foundation’s face and ramset into place like it’s ready to star in an action movie. Now, here’s where the paths split:
Option A gets all dressed up with a water-resistant 3M membrane wrap slapped on the bucked frame to fend off sneaky H2O—yuck! Add a dollop of silicone sealant around the perimeter, and boom, you’ve got a fortress-like water barrier keeping the cozy indoors safe from the wild outdoors. Then, enter the superstar 2” reverse drip cap, strutting in to stop any drippy water from crashing the party between the window unit and our fancy barrier. Hold tight, Option B fans—your moment’s coming in step two!
Option A is now prepped and ready for the main event: window installation time! The window unit rolls in with a pre-made vinyl brick mould, looking all snazzy. We pop off the surface caps, drive in some 2.5” screws, and give it a “blind caulking” spa treatment. Then, it’s slid into the bucked frame under that dazzling drip cap, leveled to perfection vertically (no wonky slopes here!) and horizontally (no cruise ship vibes, please). Option B, you’re up! This bad boy uses a nailing flange window unit, slipped into a bare bucked frame. Same leveling magic happens—vertical, horizontal, all that jazz—then it’s caulk-and-membrane time! Silicone sealant and 3M wrap team up to create a water-tight seal that laughs in the face of harsh weather.
Now, the paths diverge like a choose-your-own-adventure book! Option A gets a final silicone sealant glow-up around the brick mould and often above the drip cap (though sometimes we skip that step, depending on the vibe). Then, it’s spray foam time on the interior, and voilà—Option A is done! (Just gotta snap those vinyl caps back on to hide the screws for that sleek exterior look.) Option B demands a bit more pizzazz. We toss in some spruce blocks around the exterior perimeter—why, you ask? Because we’re about to get fancy! A shiny new standard white drip cap (not reverse, we’re switching it up!) takes the stage, followed by custom-bent aluminum cladding—crafted on-site to hug your window unit like a tailored suit. From classic white to bold black and every shade in between, we’ve got you covered! Option B wraps up with a foam party on the interior, just like its cousin, and both methods are ready to shine! ✨