 Image 1 of 2
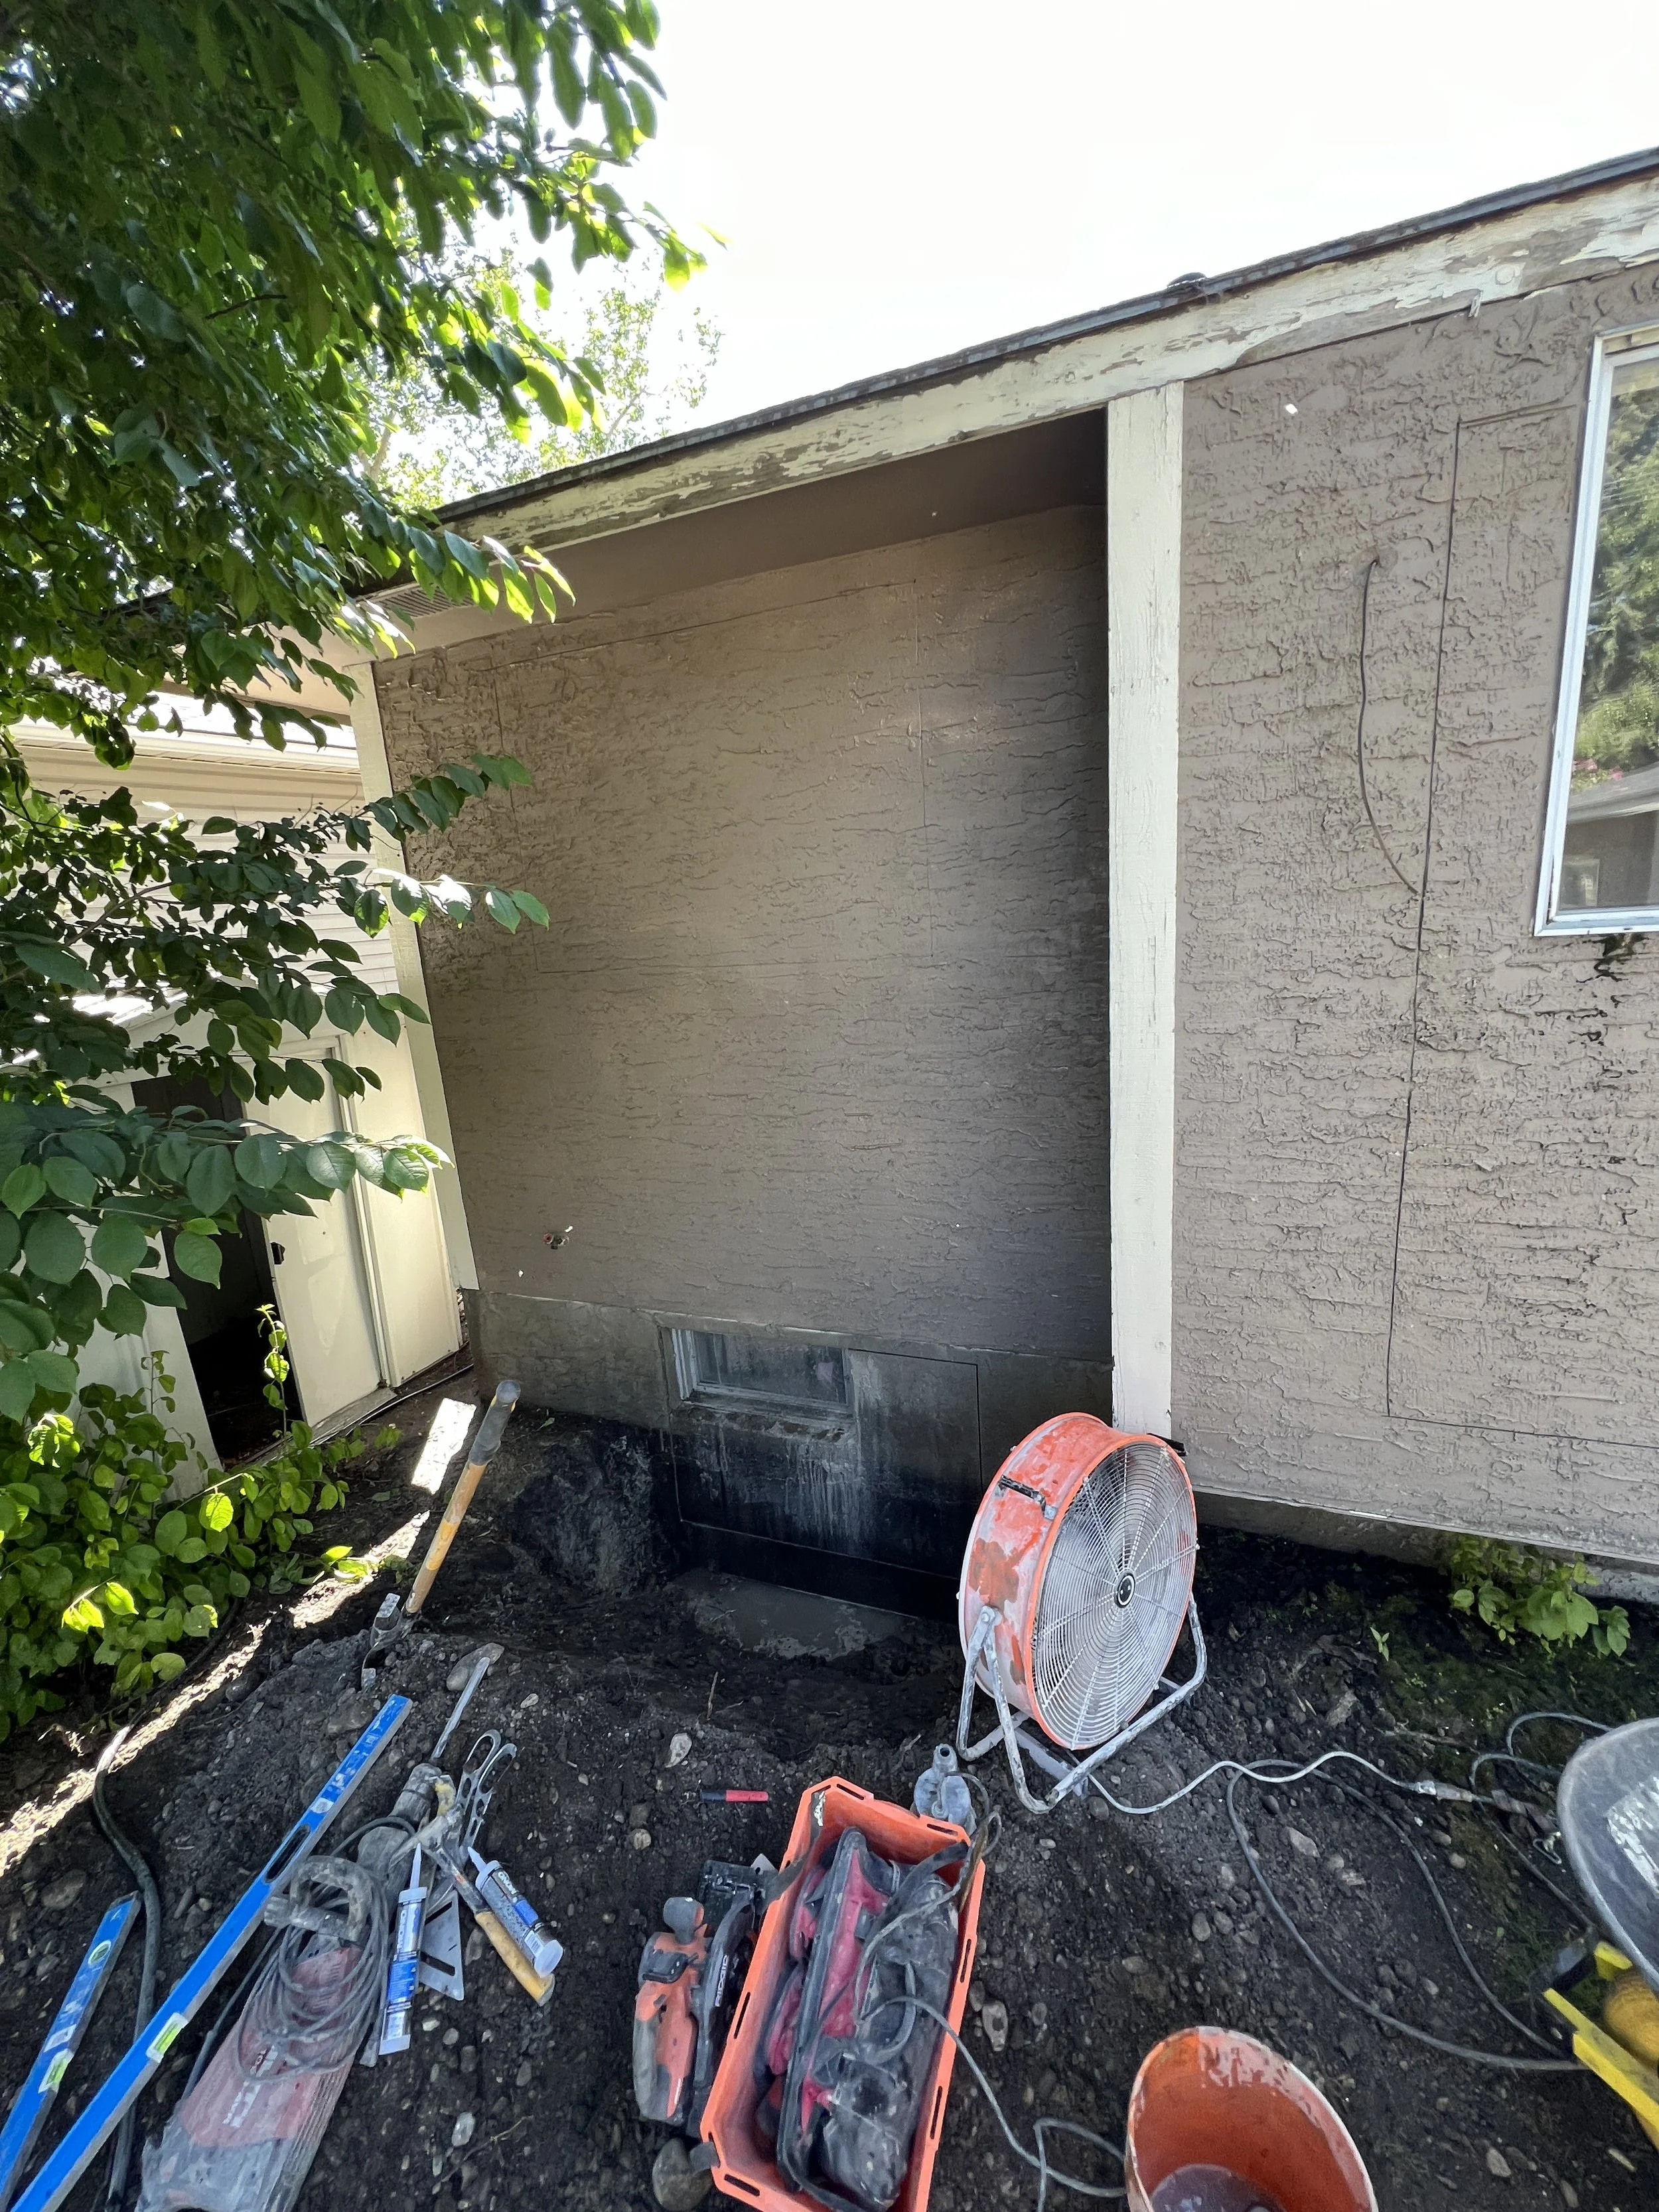 Image 2 of 2
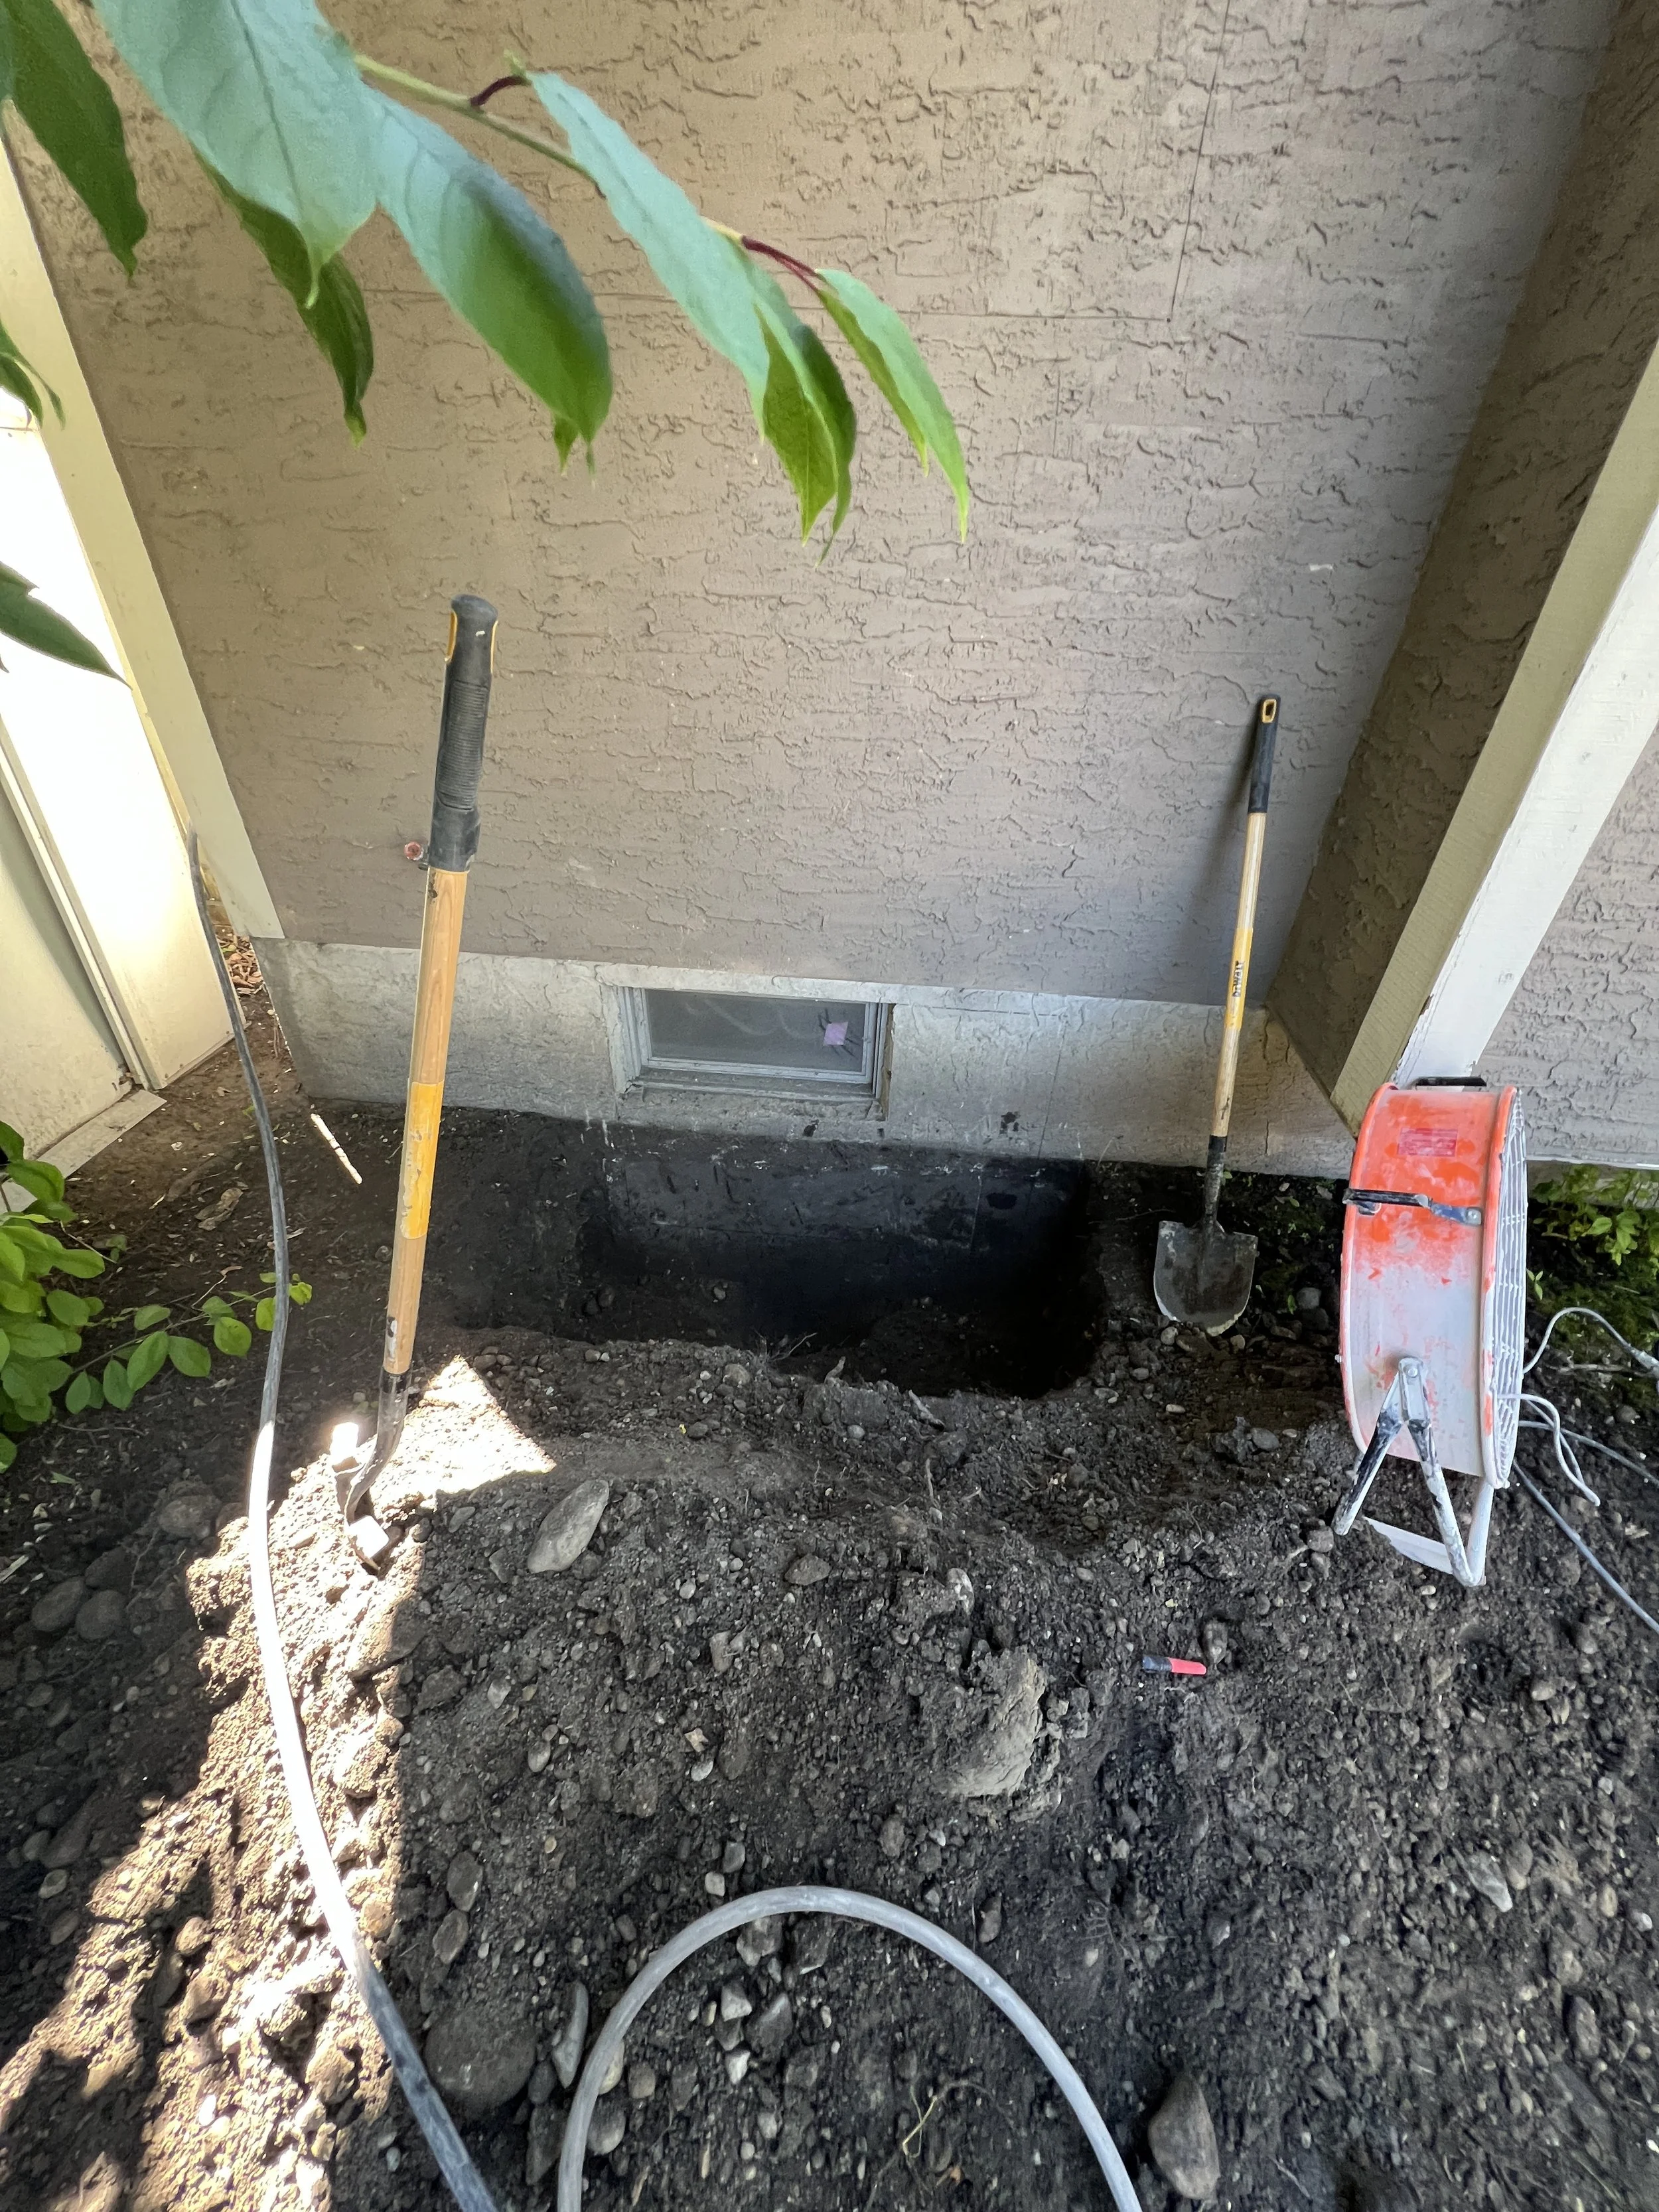
Alright, buckle up—it’s time to tackle the part that makes most folks quake in their boots: turning your basement windows into full-on “Egress Confirming” superstars! Yeah, it sounds like a beast, but let’s shimmy through the process with a sprinkle of fun:
First up, whether you’re jazzing up an existing window or plopping a brand-new one in, your trusty sales rep will have already gabbed with you about your dream placement. On D-day, the crew rolls in, and you’ll have a quick powwow to confirm the spot. Enlarging? You’ve got three fab options: center, right, or left—boom, decision-making as easy as picking your favorite ice cream flavour! 😎 New window? Just point like a game show host, and the crew will drill a cheeky pilot hole to double-check the spot’s just right—especially making sure the height vibes with your interior ceiling (because nobody wants an awkwardly sky-high window, amirite?).
Next, it’s time to get artsy! The crew grabs their imaginary magic markers and sketches out a snazzy rectangle (or sometimes a super-cool square) on the wall. Our on-site geeks are total rockstars, but even they need some lines to guide their concrete-cutting wizardry—no freehand sorcery just yet! 😜
Now, brace for the main event: concrete cutting! This is the loudest, dustiest, messiest part of the gig, and we’re keeping it 100% real with you. But chill—all that chaos stays outside, neatly contained in the excavated hole like a dirt-filled piñata. Your indoor zen remains untouched, so take a deep breath! The crew carves out that perfect rectangle (or square) with surgical precision—NO OVERCUTS, because overcuts are the party pooper we all despise. They slice 2” deep, then 6” deep, and finally 8” deep, dialling back the water used for dust control to keep things tidy. Top, sides, bottom—it’s a methodical dance to ensure no sneaky water creeps into your basement.
Finally, it’s time to yeet that concrete chunk out of the foundation, creating a glorious new opening! The slab is whisked away to the exterior, where it gets a sledgehammer-and-demolition-hammer rave party, smashed into bite-sized pieces and carted off-site for good. Voilà—your egress window is ready to shine! ✨